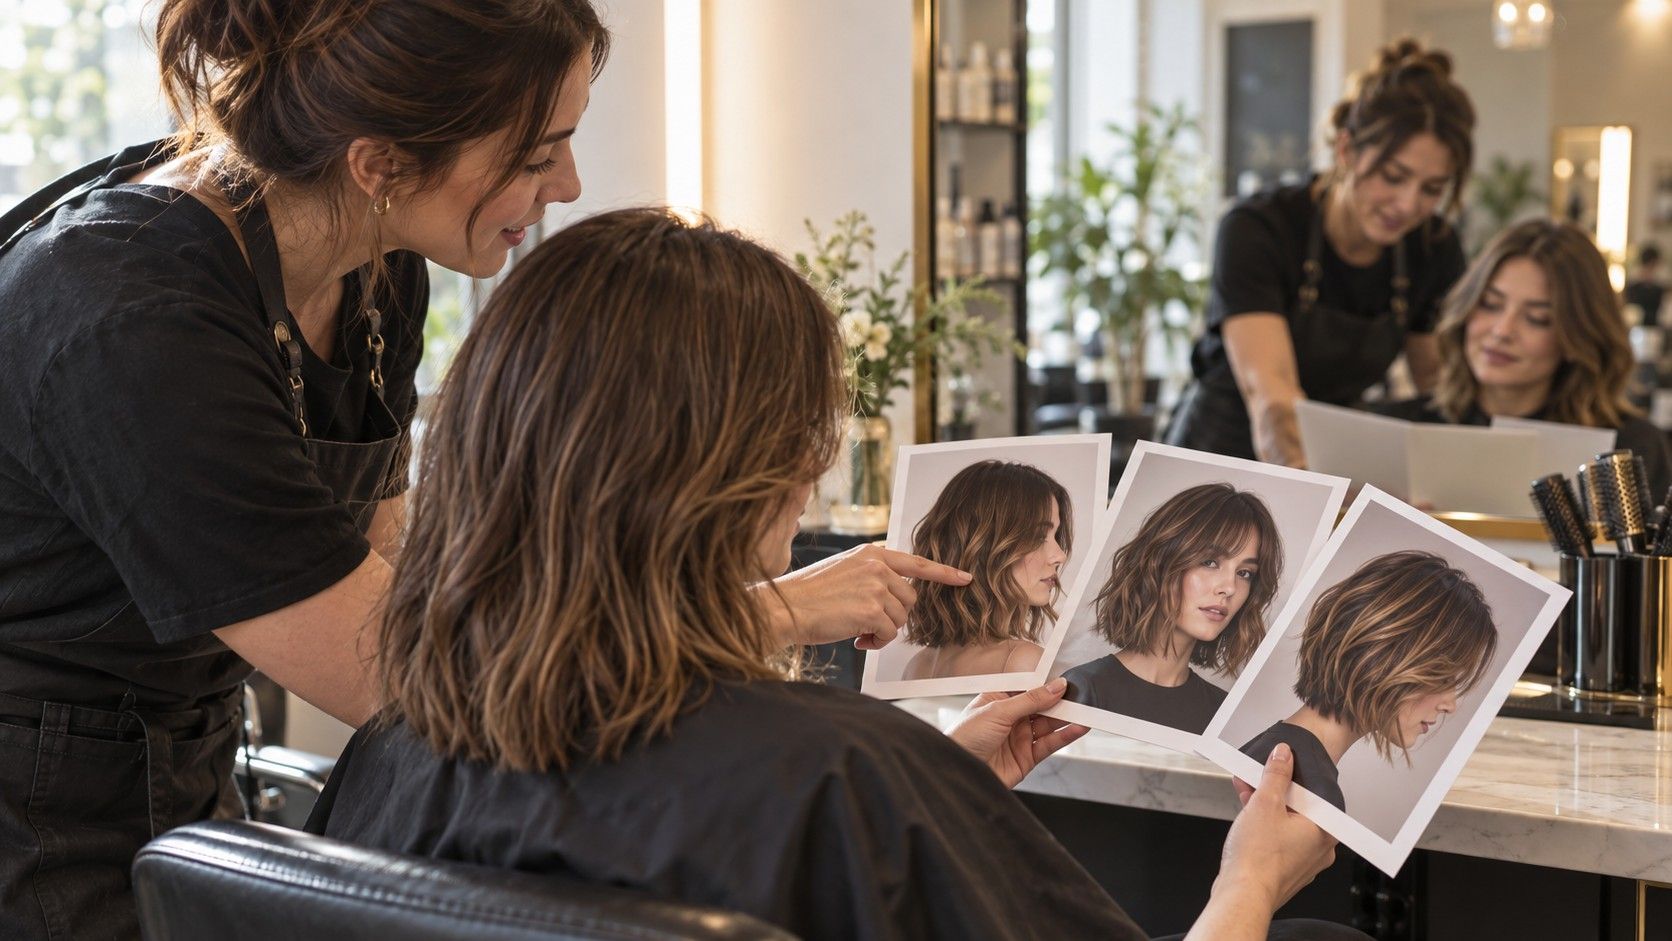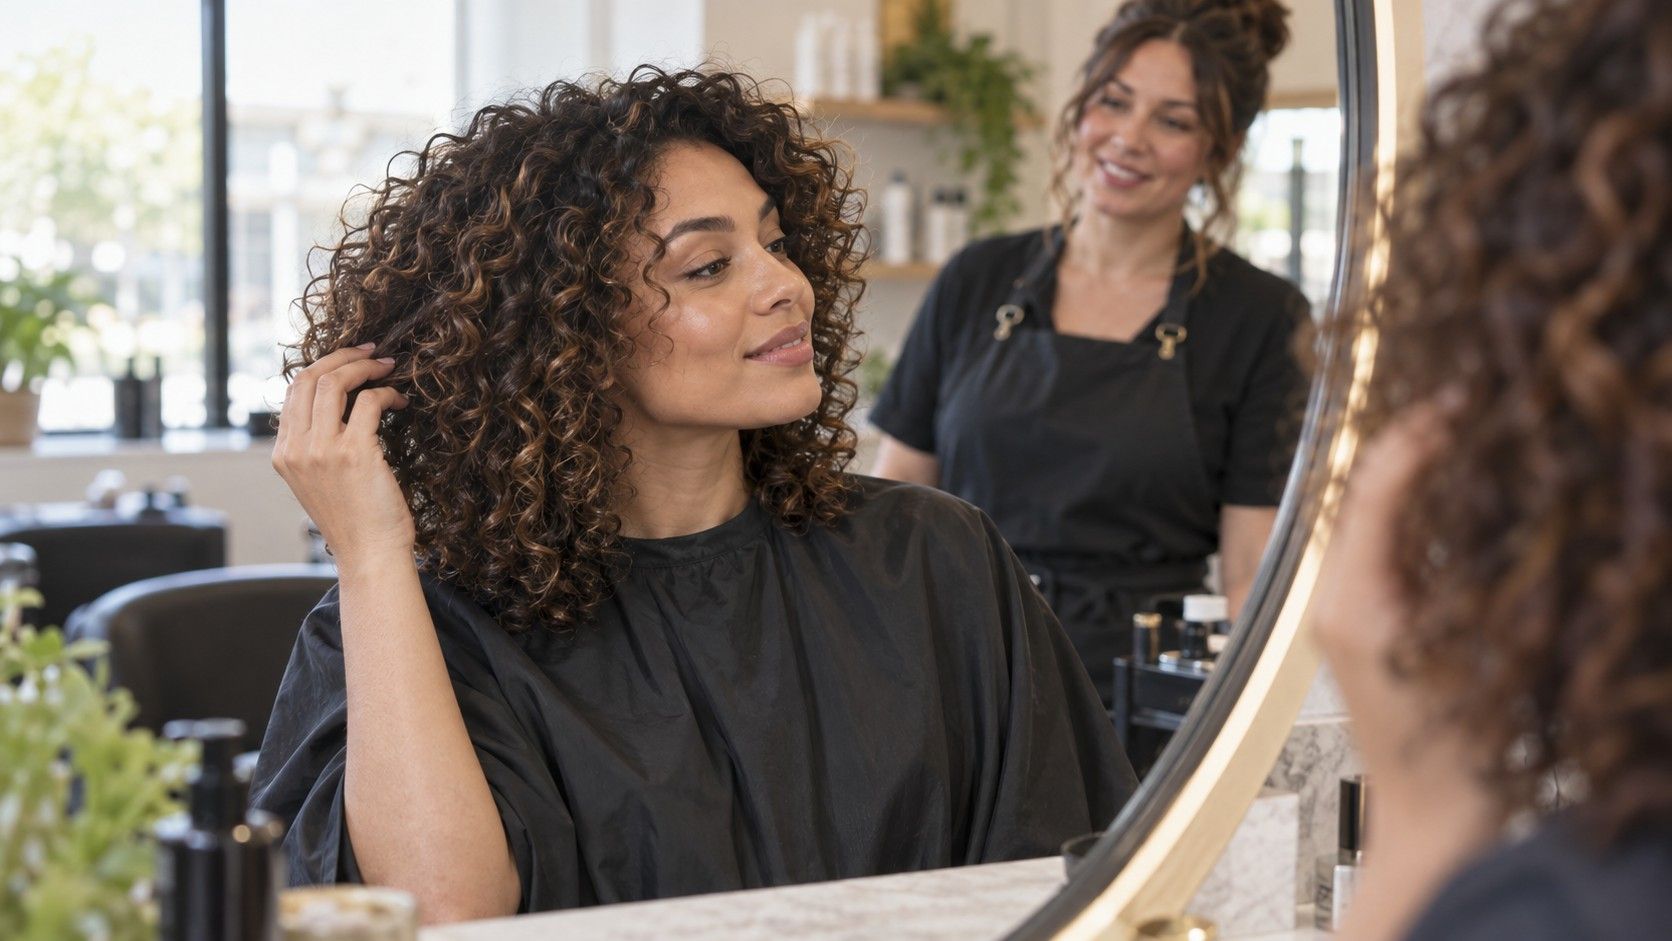
The most useful question before a curly haircut is not “How short should it be?” but “Where should the volume sit?” Two cuts can share the same longest point and produce completely different outlines: one may form a balanced curve, while the other expands at the bottom and collapses at the crown. Good haircuts for curly hair account for shrinkage, density and the way curl clumps behave on an ordinary wash day. The goal is not to force every curl into one pattern; it is to create a shape that still makes sense when the pattern changes.
Plan around the curls you wear most days
Arrive at the appointment with your hair close to its normal state. If you usually air-dry with a side part, a perfectly stretched blowout hides the information the stylist needs. If you normally diffuse, explain how much lift and shrinkage that creates. Freshly washed hair with moderate product lets the natural curl pattern show without being matted by a tight bun or distorted by several days of brushing.
Allow for shrinkage before choosing the length
Look at more than the familiar curl-type chart. Pattern can vary from loose curves at the nape to tight spirals around the face, and the same head can behave differently in damp weather. Density and strand thickness often affect a haircut more than the curl label. Dense, coarse curls may create weight at the sides even with a narrow perimeter; fine, lower-density curls can lose their full appearance when too many layers are cut into them.
Identify the current shape problem in specific terms. A flat crown, a wide shelf above the shoulders, transparent ends and an uneven front all require different choices. Photographs from your own best and worst wash days are useful because they show the range the cut must handle. A single salon reference captures one styled moment; your photos reveal where your hair expands, separates or shrinks when no professional is arranging it.
Shrinkage is not a fixed number that applies evenly from root to tip. Tighter sections may rise several centimetres after drying, while looser curls remain close to their wet length. Hair near the temples can spring higher because it is shorter and lighter; a dense back section may stay elongated under its own weight. For that reason, deciding on a dry visual endpoint is safer than requesting an exact wet measurement.
Shoulder length is a particularly sensitive zone. Curls that touch the shoulders while wet may bounce above them, while ends that land directly on a collar can flip outward. If tying the hair back matters, test whether the intended front and side pieces will reach your elastic after shrinkage. A cut can technically qualify as a bob yet feel much shorter in daily use once every curl has settled.
Dry cutting allows a stylist to see individual curl clumps and place the outline in its worn state. It can be valuable when the pattern is consistent and the client usually styles the same way. Wet cutting offers cleaner sectioning and may suit someone who alternates between curly and stretched styles. Neither method is automatically superior. The important point is whether the stylist checks the shape after drying and understands how your sections rebound.
Match curly layers to density, not a trend name
Curly layers can move volume upward and prevent a heavy triangular silhouette. On dense hair, shorter crown and upper-side sections release weight and let curl clumps sit over one another rather than forming one solid lower block. The shortest layer still needs enough length to curl predictably. If it is cut into a tight spring at the crown without considering shrinkage, it may stand away from the rest of the shape.
Fine or low-density curls need a more restrained plan. Long layers and a stronger bottom edge can preserve the impression of fullness, while aggressive thinning may expose gaps between clumps. Razors and thinning shears are not forbidden tools, but their effect depends on technique and texture. Removing bulk inside a dense section can help; repeatedly shredding the ends can leave fine curls wispy and make frizz more visible.
Popular curly haircut ideas such as a rounded cut or a shag describe silhouettes rather than one universal formula. A rounded shape builds width in a controlled arc and can work from short to long lengths. A shag introduces more separation, shorter upper layers and often a fringe. It gives lively movement but may require deliberate diffusing at the roots. Choose the amount of contrast you want between the crown and the longest layer instead of requesting a named cut without further detail.
Treat a curly fringe as its own small haircut
A curly fringe can connect the front of the cut to the overall shape, but it should be judged in its driest, springiest state. One curl may land on the brow while its neighbour rises much higher. Cutting the entire section to a straight wet line often produces an uneven dry result. A stylist may establish a conservative length, dry the fringe, and then refine individual curls rather than chasing perfect symmetry.
Decide whether you want a true fringe, cheekbone pieces or longer face framing that can still be tucked away. A short curly fringe changes the front view immediately and needs regular reshaping. Cheekbone pieces create a similar sense of movement with more flexibility. If you wear glasses, check where the curls meet the frame; repeated contact can push one side outward and make a carefully arranged fringe behave differently by midday.
Parting habits matter here too. A fringe designed around a centre part may separate sharply if a cowlick controls the hairline. A deep side part changes which curls carry the most weight. Ask for the front section to be evaluated both forward and in your usual part before any significant length is removed. This small pause can prevent the common problem of a fringe that looks balanced only in the position used during the cut.
Talk through styling before the first curl is cut
A useful consultation covers the complete wash-day result, not only the cutting method. Explain whether you rake product through, brush style, finger coil or leave curl clumps mostly untouched. Brushing can group strands into larger ribbons, while hands-off styling may create many smaller curls and a wider outline. Diffusing with the head upside down adds different root volume from hovering a dryer upright. The haircut should tolerate your real technique rather than depend on a new routine you are unlikely to maintain.
Use clear reference points during the discussion: where the longest dry curls should land, how high the crown may rise, and how much width you want beside the cheekbones or jaw. Ask how the proposed layers will affect a ponytail, protective sleep style or occasional straightening. If you alternate finishes, avoid a highly curl-by-curl outline that becomes disconnected when stretched unless you are comfortable with that tradeoff.
After the cut, resist making a verdict from one salon wash. New layers can change how much product each section needs, and curl clumps may settle differently after the next cleanse. Try the cut through two or three normal wash cycles. If something feels wrong, name the behavior precisely: a ledge above the ears, excess weight at the nape, a crown that will not connect, or ends that appear too thin. A focused adjustment is more likely to improve the shape than asking generally for more layers.
The best curly hairstyles are not frozen outlines. They allow for a little asymmetry, weather-driven expansion and variation from day to day while keeping the overall balance intentional. When length, density and shrinkage are discussed together, the stylist can preserve the curl clumps that give fullness and remove weight only where it improves the silhouette. That is a far more dependable plan than choosing a photo solely because the curl pattern looks familiar.