A hairstyle photo is useful only when it helps a stylist understand a shape, length or finish that could be adapted to your hair. A single polished image rarely does all three. Good hairstyle reference photos are less about finding a perfect person to copy and more about assembling clear evidence: comparable hair, honest images of your current hair, several angles and a short explanation of what you actually like.
Choose references with hair you can realistically compare
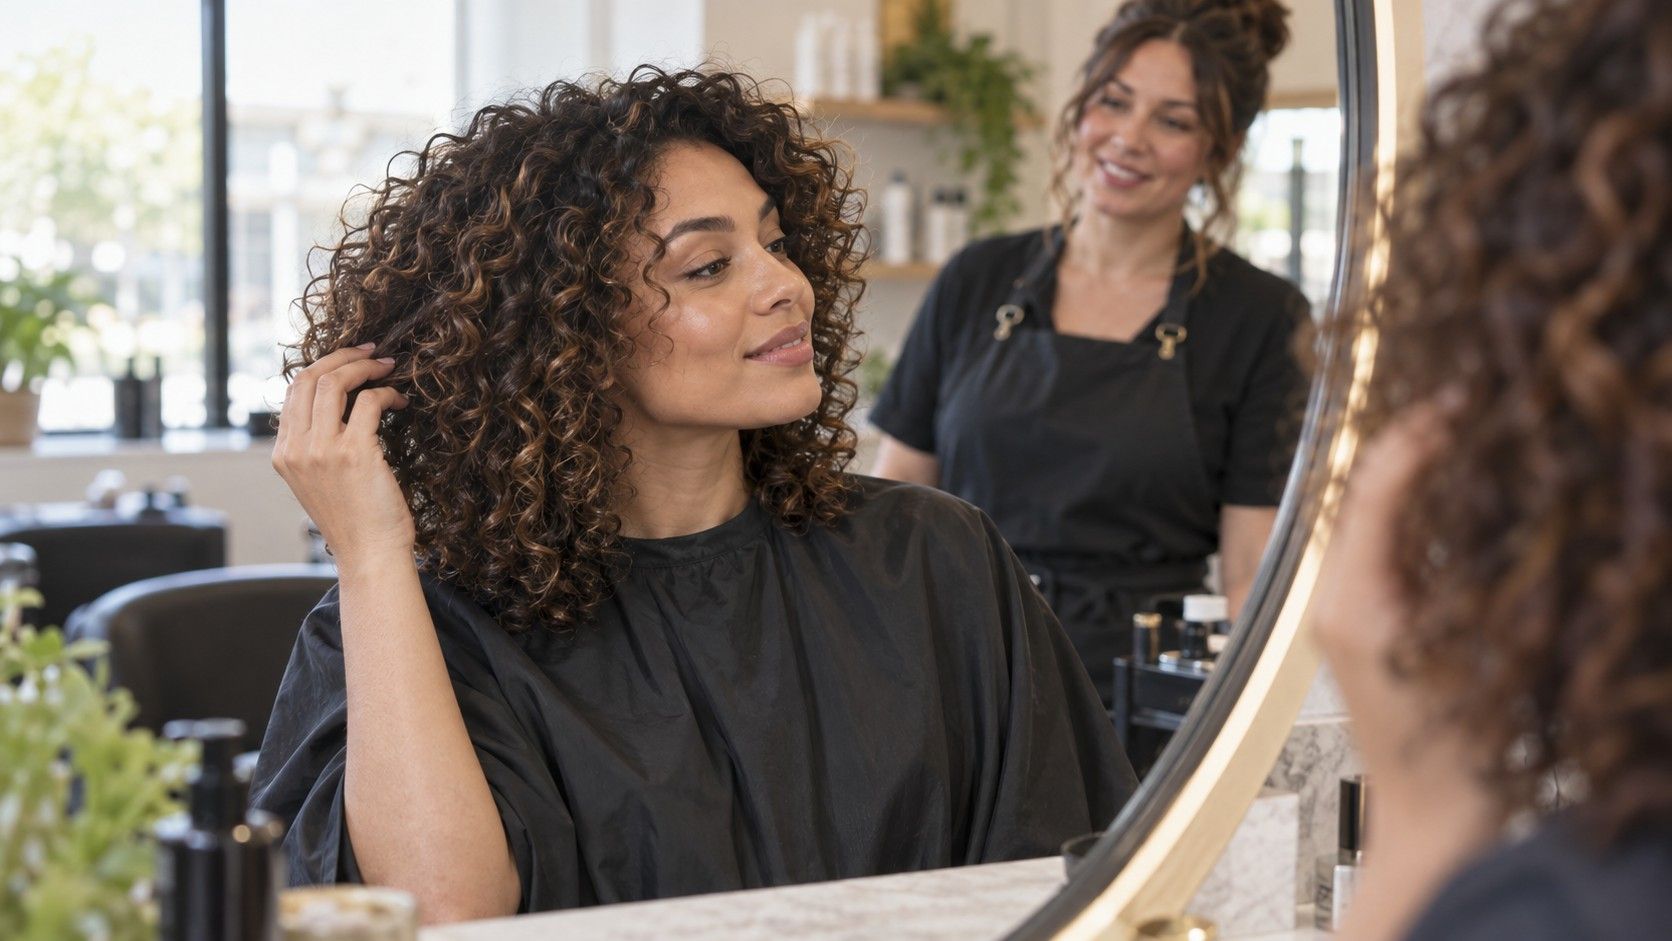
Start with texture. If your hair dries in loose waves, look for references that show loose waves without a full curling-iron finish. If it is straight and fine, an image built around dense curls does not reveal how the underlying cut will sit on you. You can still save an aspirational finish, but label it mentally as styling rather than haircut structure. The most informative photo shows the hair at rest, with enough definition to see where layers begin and where the perimeter ends.
Show your current hair honestly before the salon changes it
Hair density matters separately from strand texture. A thick-looking bob may owe its shape to a large amount of hair, extensions or pieces pulled from the back to the front. Check the parting, temples and ends: a very narrow part and solid perimeter often indicate more density than a wide part with transparent ends. You do not need to diagnose the person in the image. Simply collect at least one reference whose visible density resembles yours, because it gives the stylist a more credible starting point.
Compare length against fixed landmarks rather than vague labels. Save images where you can see whether the cut meets the cheekbone, jaw, collar or shoulder. A tilted chin can make a bob look shorter at the front, while raised shoulders can make long hair appear closer to the collarbone. For bangs, note whether they are above the brows, touch the lashes or split at the cheekbones. These landmarks turn haircut consultation photos into practical measurements instead of mood alone.
Finally, check whether the hairstyle depends on color contrast. Highlights can make layers visible even when the cut is subtle; dark, single-tone hair may show the same layers mostly through movement. If your color is uniform, include one reference with a similar color depth. It prevents a common disappointment in which the cut is technically accurate but appears flatter because the photographed dimension came from balayage rather than scissors.
Your own photos answer questions that inspiration images cannot. Take them on a normal wash day with the products and parting you usually wear. Do not straighten curls, create unusual volume or pull the hair tight to make the outline neater. A stylist needs to see the front hairline, crown growth patterns, natural bend and the condition of the ends. These features affect how to choose a haircut far more than a flattering filter does.
Use soft daylight from a window or bright, even indoor light. Stand facing the light rather than placing it directly behind you; backlighting turns the perimeter into a dark outline and hides texture. Avoid a ceiling spotlight as the only source because it creates deep shadows around the crown and sides. Turn off portrait blur and beauty filters. They may soften flyaways, narrow the face or erase fine hairs around the hairline, removing details that matter during a haircut consultation.
Wear a plain top that contrasts with your hair. Dark hair disappears against a black collar, and pale hair can vanish into a white wall. Move bulky scarves, hoodies and high collars away from the neckline so the current length is visible. If possible, ask another person to hold the camera at about head height from a modest distance. A very close phone camera exaggerates the centre of the frame and can make the sides recede, which is unhelpful when assessing volume.
Use front, side and back views to show the whole shape
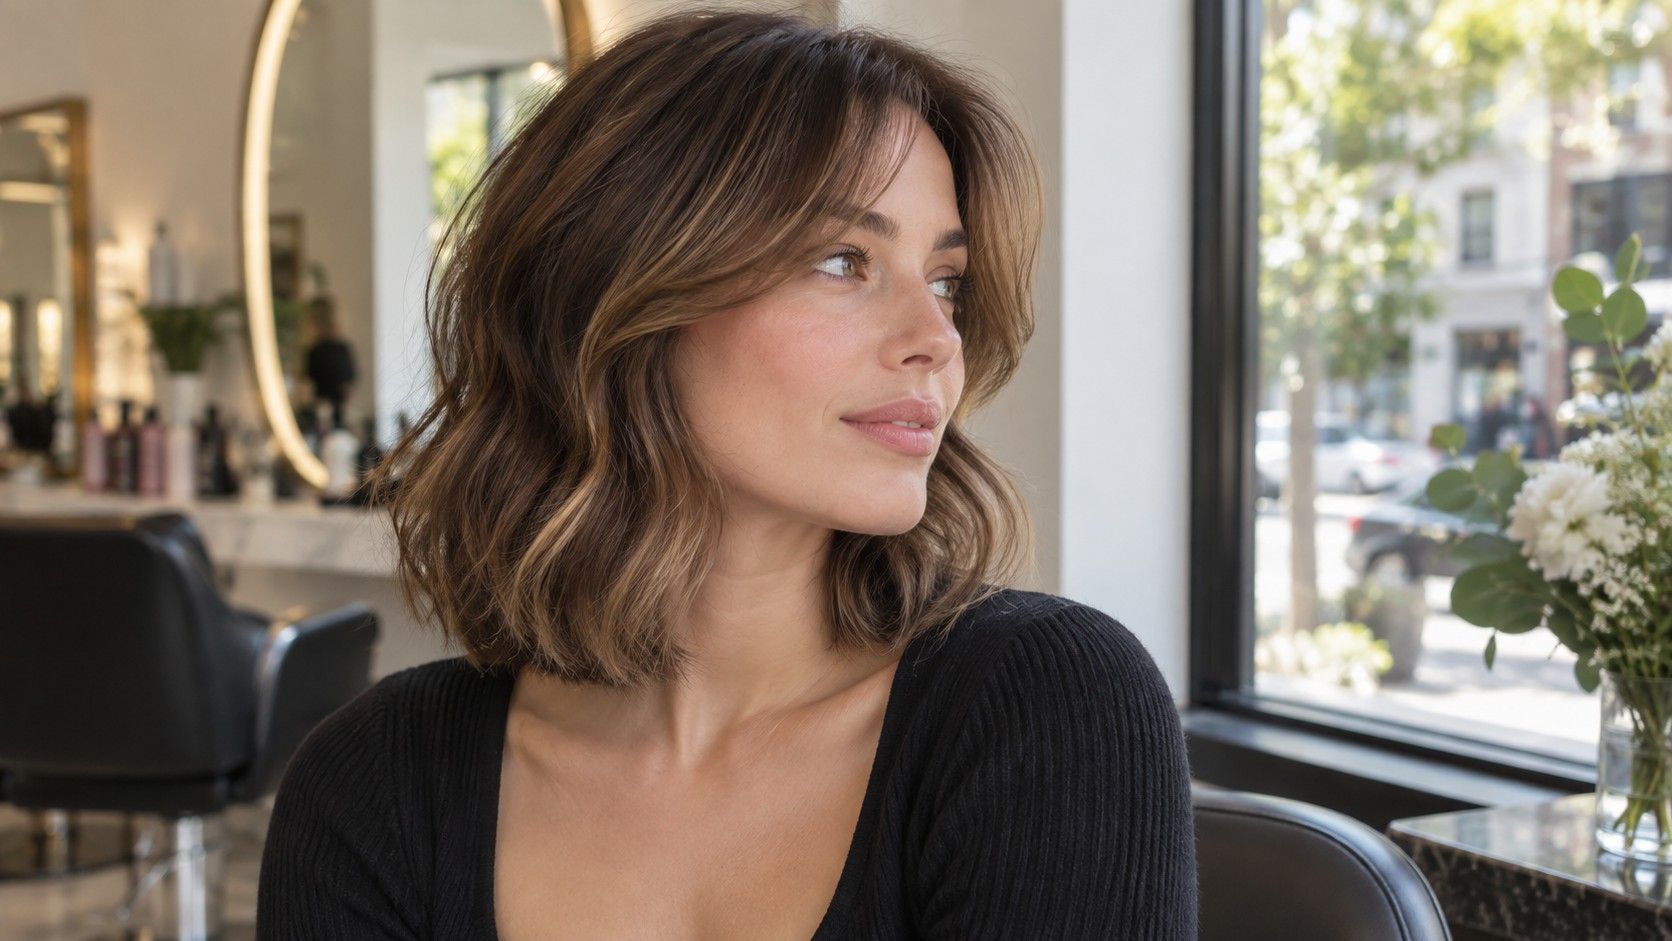
A front view explains the parting, fringe, face-framing pieces and width around the cheeks. Keep your head level and look straight ahead. Then take left and right three-quarter views, which reveal how the front connects to the sides. These angles are particularly useful for bobs, shags and layered cuts because they show whether the movement begins near the cheekbone, jaw or shoulder. Do not rely on a mirror selfie with the phone covering one side of the haircut.
Both side views are worth taking. Hair rarely behaves symmetrically: one side may tuck behind the ear, turn outward or carry less density. Keep the camera at the same height and avoid pushing the chin forward. The side view should show crown height, the slope toward the nape and the relationship between the front and back lengths. If bangs are involved, take an additional close view after the main set, but retain the wider frame so the fringe is not judged in isolation.
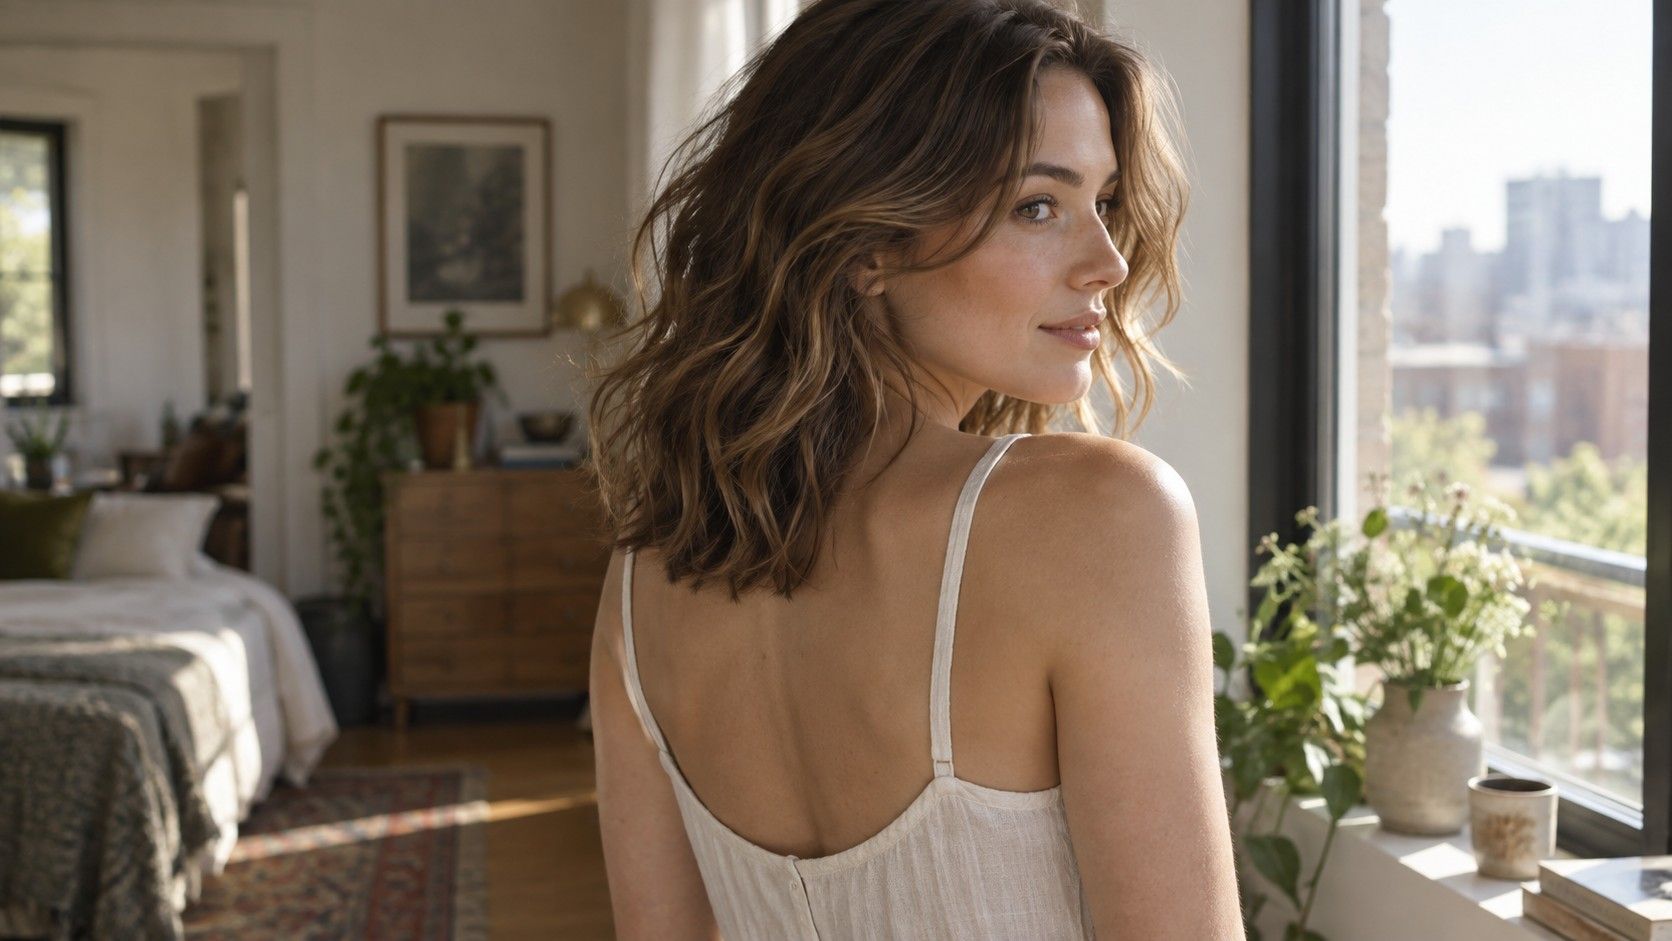
The back view exposes the perimeter, nape hairline, crown swirl and any breakage that is easy to miss in a bathroom mirror. Ask someone to photograph it or use a timer with the phone placed securely. Comb the hair only as you normally would. For long hair, take one image with it falling naturally and another with the lengths separated over both shoulders so the density at the back can be seen. For curls, avoid stretching the hair to display length; its resting shape is the more useful measurement.
| Photo | What it should show | Common mistake |
|---|---|---|
| Front view | Parting, fringe and face frame | Phone blocks one side or head is tilted |
| Three-quarter view | Connection from front layers to sides | Hair is tucked behind the ear |
| Side view | Crown, profile and front-to-back length | Camera is too low or chin is pushed forward |
| Back view | Perimeter, nape and overall density | Collar hides the ends |
Explain what you like and dislike in each image
Stylists cannot reliably infer your priority from a saved photo. You might like the fringe while disliking the short layers, or want the length but not the smooth blowout. For every reference, finish the sentence: “I like this because…” Point to one or two features such as the solid ends, airy crown, cheekbone frame or ability to tuck the front. Specific language lets the stylist combine compatible elements and flag those that conflict.
Add a negative reference when it clarifies a boundary. A picture of overly thinned ends, a rounded stacked back or a fringe that feels too heavy can be more precise than saying “not too short.” Explain the feature, not the person wearing it. Keep the negative set small; ten examples of what you dislike can bury the decision. One or two clear boundaries are normally enough to protect the result without turning the consultation into guesswork.
Separate cut from finish aloud. If you like a wave created with hot tools but usually air-dry, say so. If you like the volume but will not tease or diffuse the roots, ask how the cut looks without that step. A stylist may suggest a longer crown, heavier ends or a different fringe so the natural version remains coherent. This conversation is where attractive hairstyle reference photos become a wearable plan.
Turn the photo set into a clear salon request
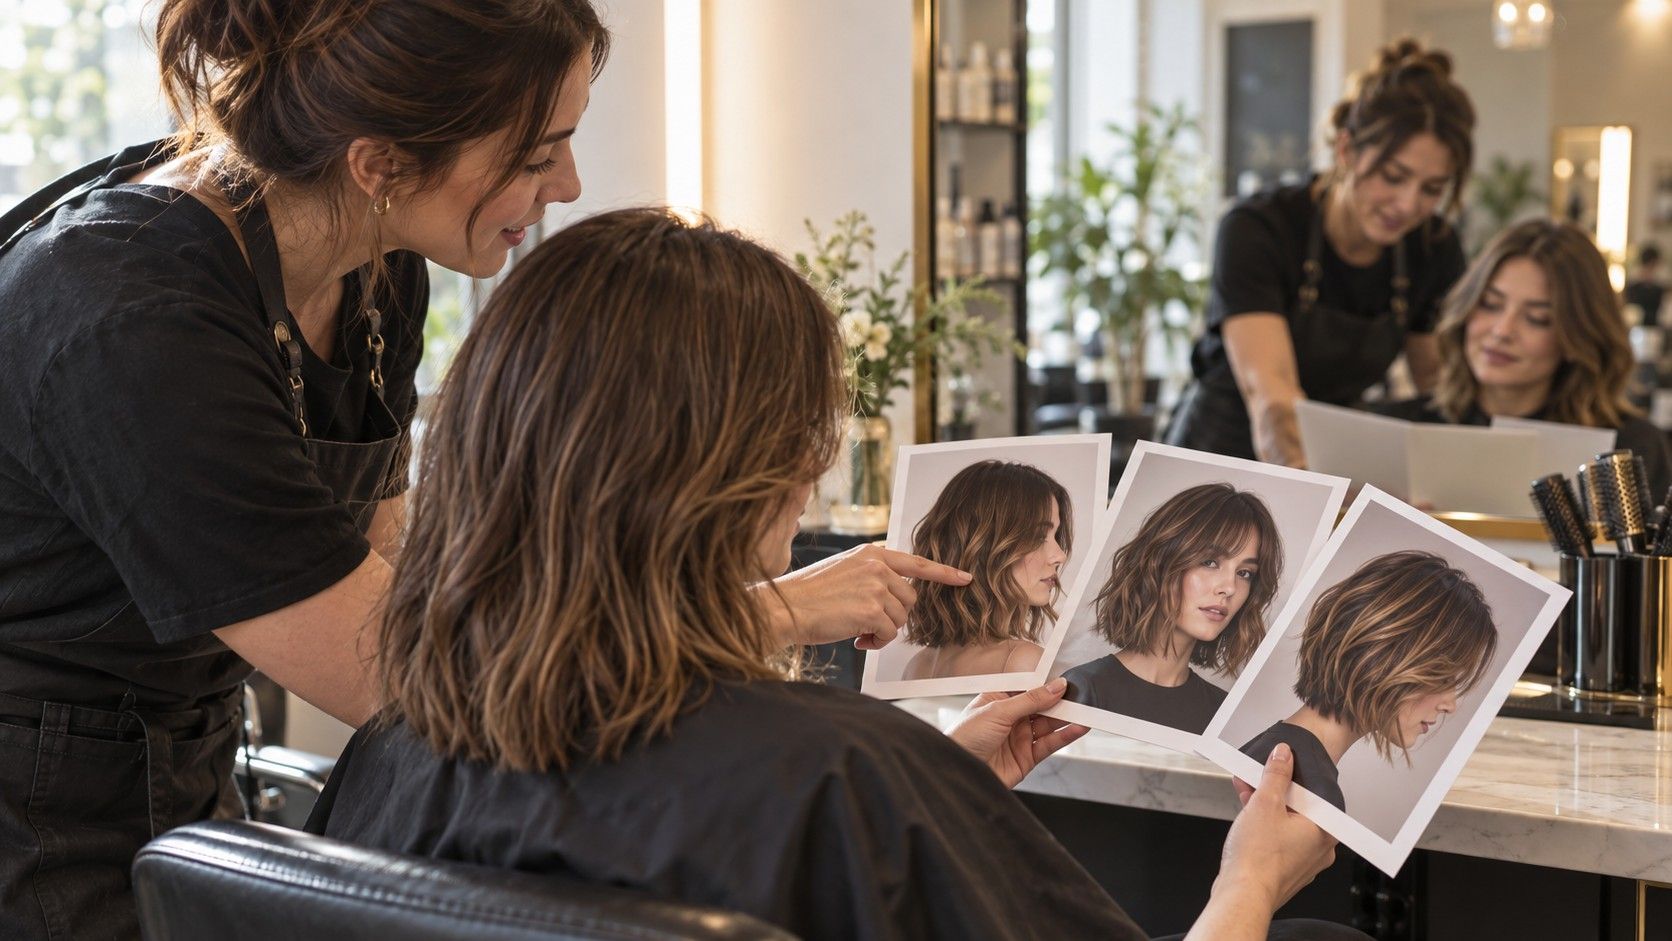
Reduce the final selection to three to five inspiration images plus your current-hair views. Choose one primary reference for overall shape, then use the others to clarify fringe, texture or length. Too many contradictory pictures force the stylist to discover a hidden average that may not exist. Keep the set available offline and at full brightness; salon reception can be unreliable, and a dim thumbnail makes fine layers difficult to read.
Open the haircut consultation with your routine before discussing labels. State how often you wash, whether you air-dry or use heat, how many minutes you normally spend, and whether the hair must fit into a ponytail for work or exercise. Mention any chemical processing, breakage or recent color service that affects how much can safely be removed. Then show the images and identify the highest priority: length, outline, volume, fringe or easier styling.
Ask the stylist to translate the reference onto your current hair. Useful questions are where the shortest layer will land, how much density will remain at the ends, what the back will look like, and which part needs the most maintenance. Have the proposed length demonstrated with a comb or clipped section while you sit upright. If curls or waves shrink, agree whether the landmark refers to wet, stretched or naturally dry hair.
End with a shared description that can be repeated before cutting begins: for example, a collarbone cut with a solid perimeter, long cheekbone framing and no layer too short to tie back. That sentence sets the limits more reliably than a style name alone. The photos show proportion and finish; the spoken request tells the stylist what must remain practical.