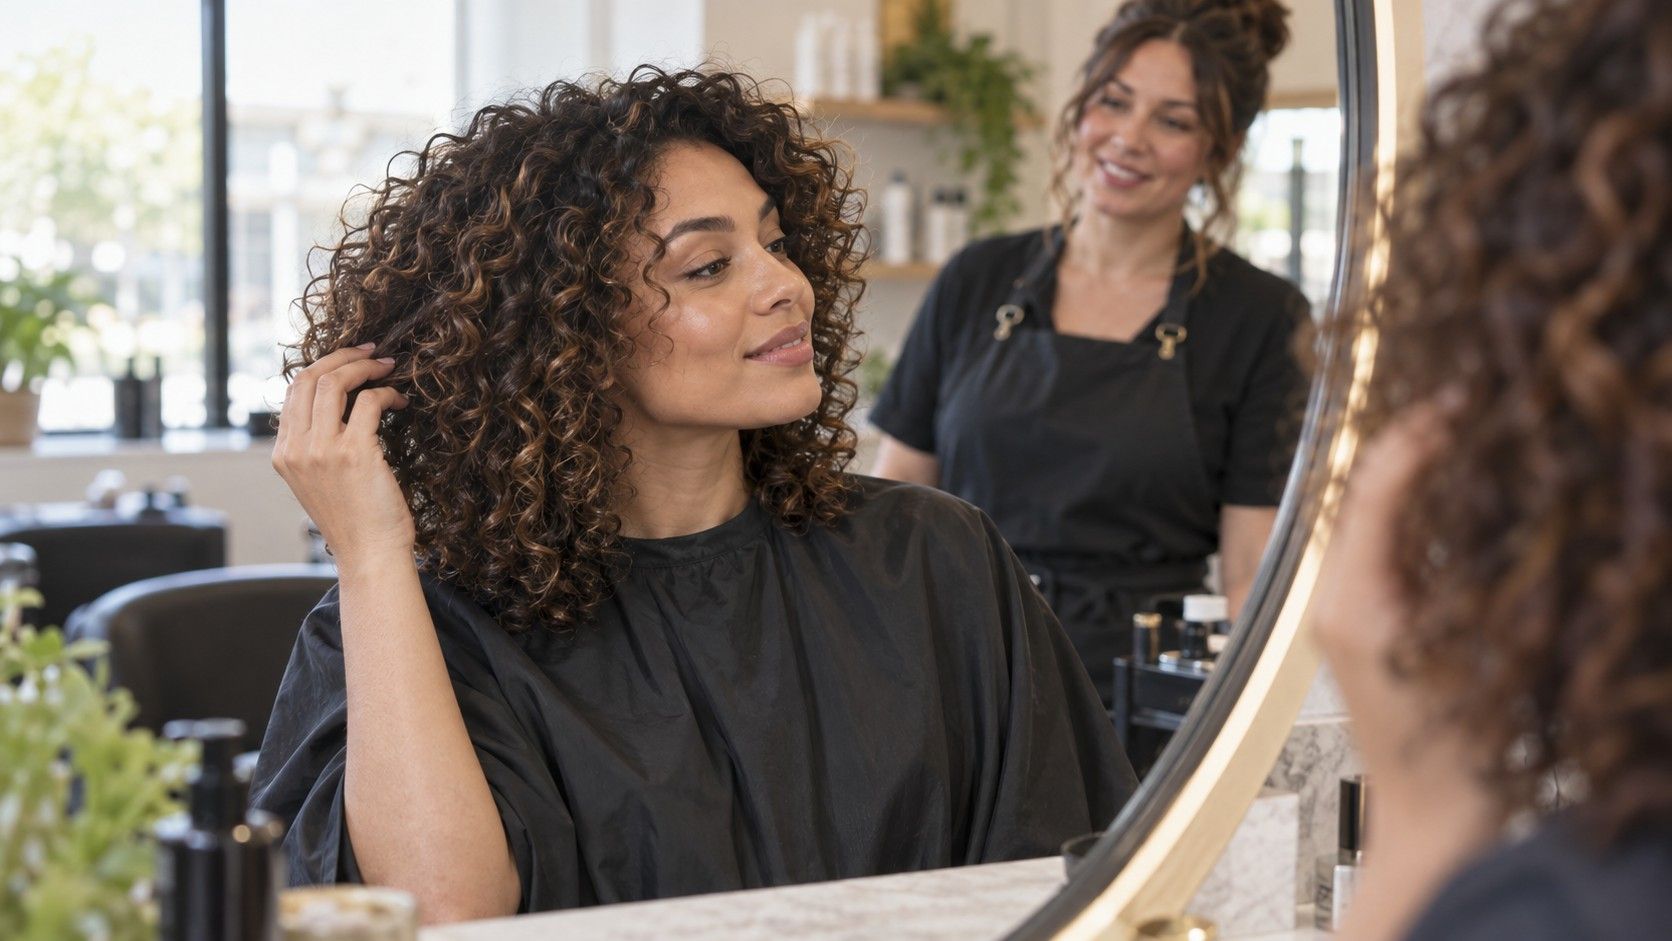
Wanting a noticeable haircut without losing much length sounds simple, yet it leaves plenty of room for disappointment. A stylist can preserve the longest point and still remove far more fullness than expected, while a cautious trim can look almost identical once the hair is dry. The useful way to compare long haircut ideas is to decide where the change should be visible: around the face, through the interior, or along the bottom edge. That choice matters more than the trend name attached to the cut.
Decide what you actually want to look different
Start with the moment when you most want to notice the haircut. If the problem appears when your hair is down, heavy sides or a flat crown may be the real issue. If it appears in a ponytail, bulky ends or short pieces escaping near the ears may bother you more. Someone who usually wears a centre part needs a different shape from someone who flips the part from side to side. These details give a stylist something more useful than a request for “more movement.”
Choose face framing or full layers for long hair
Long hair can change in three broad ways without sacrificing its longest line. Face-framing pieces alter the front view, internal layers reduce weight and create separation, and a reshaped perimeter changes how the whole cut hangs from behind. Combining all three creates a bigger transformation, but it also increases the styling commitment. Hair that currently falls into one smooth sheet will no longer behave as one smooth sheet after extensive layering.
Use your everyday routine as the limit. If you air-dry, tuck both sides behind your ears and leave home, the cut should settle well with minimal direction. If you regularly use a round brush or large curling iron, shorter sections can make that work more visible. Long hairstyles photographed after a professional blowout often owe half their drama to styling, so separate the cut you want from the finish you merely like.
Face-framing layers are the lowest-risk way to make long hair feel different from the front. The first piece can begin around the cheekbone, jaw, collarbone or lower. Cheekbone pieces make the strongest impression, but they can fall forward during exercise and require deliberate styling. Collarbone pieces still soften the front, tend to stay in a ponytail, and grow out with less awkwardness. Ask where the shortest section will land after your natural texture springs or bends, not only while the hair is pulled straight.
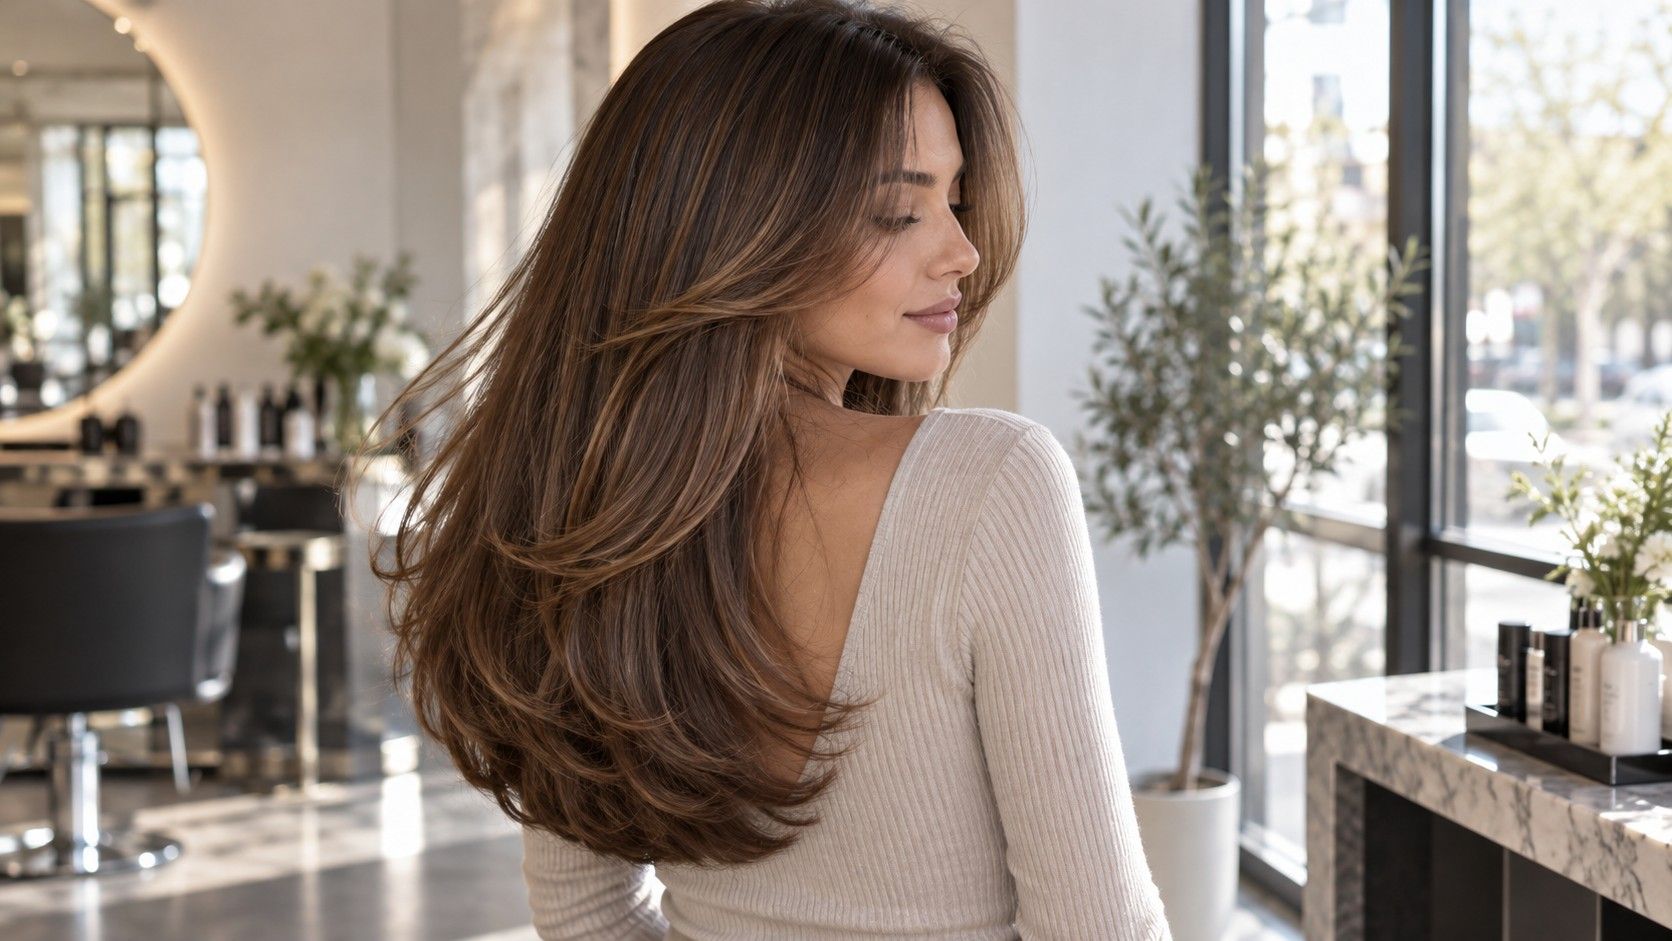
Full layers for long hair continue around the head rather than stopping near the face. They can release a dense triangular outline, help waves form, and give a round-brush set more lift. They can also make fine ends look sparse when too many sections are elevated and shortened. A useful check is to gather the last ten centimetres of the hair in one hand. If that bundle already feels light, preserve a stronger perimeter and keep most layering above it.
A butterfly cut uses shorter, airy layers near the crown and face while retaining long lower sections. It suits someone willing to style for lift and visible sweep. A long shag distributes shorter pieces more broadly and often includes a fringe; its separated texture is intentional rather than perfectly polished. Both names cover many interpretations. Specify whether you want a soft connection between lengths or obvious, piecey steps, because that difference controls the result more reliably than the label.
Let the bottom edge carry the shape
The perimeter is easy to overlook because most reference photos show the front, yet it determines whether long hair looks dense, narrow or rounded from the back. A blunt line gives the ends maximum visual weight. It works well for fine or straight hair that needs a fuller appearance, although very dense hair may feel like a heavy curtain if the interior is untouched. A slight U-shaped cut keeps the centre longest and curves gently toward the sides, creating movement without a dramatic point.
A deeper U shape makes long hair look flowing from behind and blends naturally with long layers. The tradeoff is that the side sections become noticeably shorter, which matters when you bring all the hair over one shoulder. A V-shaped perimeter exaggerates that contrast even further. It can photograph beautifully on thick hair, but the centre point may look thin after several months of wear, especially if the ends are already tapered.
Before the first cut, show with your hands how much density you want at the hemline. “Keep the length” can mean preserving one central point while taking several centimetres from the sides. If your priority is a substantial ponytail, braid or bun, say so directly. Strong ends usually serve those styles better than a large number of short layers, even if the looser haircut looks less dramatic on salon day.
Try bangs without making them the whole haircut
Long curtain bangs can change the balance of a long cut while remaining easier to grow out than a short blunt fringe. The safest version begins long enough to tuck behind the ear and opens around the cheekbones or jaw. It still needs some direction after washing: a quick pass with a round brush, a roller while the hair cools, or a blow-dryer aimed away from the face. Without that step, a strong cowlick may split the fringe unevenly rather than into the relaxed curve seen in photos.
Consider humidity, exercise and eyewear before choosing the shortest point. Pieces that land directly on the widest part of a glasses frame can kick outward. A fringe cut at eyebrow level will also demand more frequent trims and cannot disappear into a ponytail. If you are unsure, begin with face framing below the jaw, live with it through two or three wash cycles, and shorten it later. A second small adjustment is easier than waiting months for an impulsive fringe to grow.
Bangs also redistribute attention. Curtain pieces can make the top half of a long haircut feel finished even when the ends remain simple, while a full fringe creates a sharper horizontal line. Neither automatically adds volume; volume comes from density, cutting angle and styling. If the front hairline is fine, taking a very deep triangular section for bangs may leave the temples looking lighter. Ask the stylist to show the proposed section before it is cut.
Make reference photos survive real life
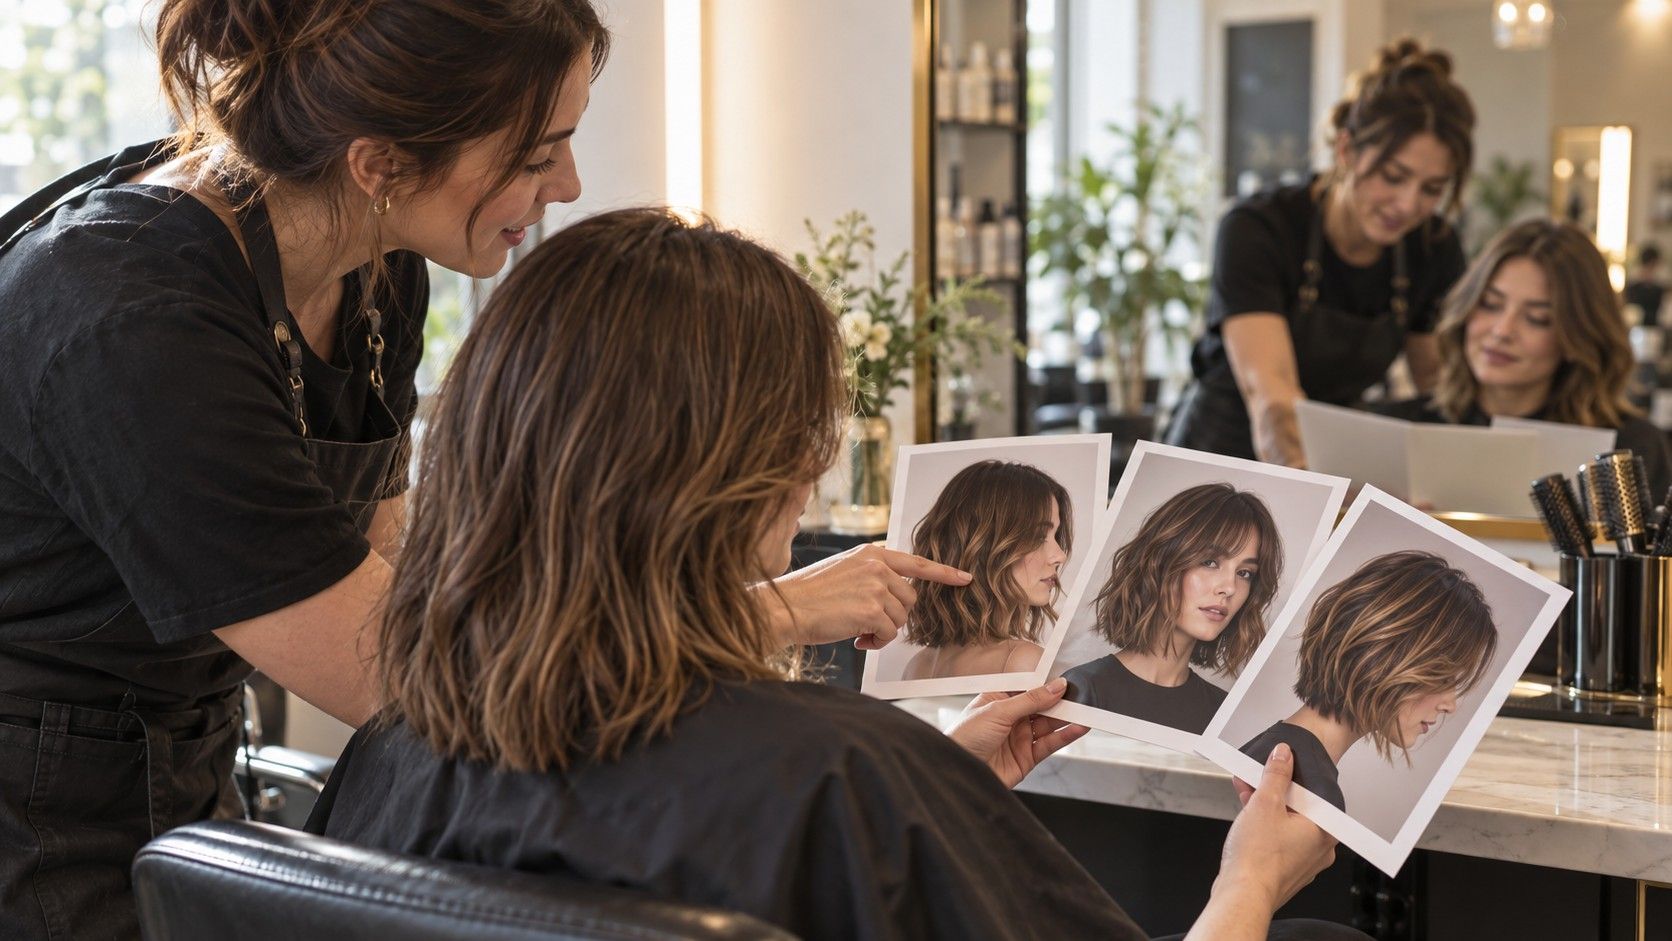
Bring two or three references that show similar hair density and texture, preferably from the front and back. Then identify one feature in each: the cheekbone framing in one image, the U-shaped ends in another, or the soft crown layers in a third. Avoid asking for every feature at once. A glossy photo of waist-length hair may involve extensions, a fresh colour service and a set with large rollers; the silhouette can still be useful, but the apparent thickness may not be realistic for your hair.
During the consultation, agree on the shortest layer, the final perimeter and how much hair must still fit into your usual tie or clip. Mention whether the hair is normally worn straight, naturally wavy or heat-styled. If it is wet during cutting, allow for its normal lift and shrinkage when dry. You can also ask the stylist to leave the initial layers slightly longer, dry the hair, and refine the shape after seeing how it falls.
The first week is the real test. Wash and style the cut with your own tools before deciding that it needs more layers. Fresh salon movement can disappear at home, but that does not always mean more hair should be removed; sometimes the missing element is simply root direction or a different part. If an adjustment is needed, describe the specific behavior—flatness at the crown, a bulky shelf near the shoulders, or front pieces that will not tie back. That keeps the correction focused and protects the length you wanted to retain.